Table of Contents
👋 Some instructions here also apply to Windows 11. If you don’t care about the intro, you can skip to the things you can do. When performing these operations, please take care to make a backup first!
In my last post, I wrote about my Surface Go. It’s a PC that runs Windows 10. In this post, I’d like to share how I manage the size of my Windows installation and save a ton of storage space by removing some of the built-in apps.
This might be beneficial if you have a physical device with limited storage capacity, or you’re running a virtual machine. (I think more people who develop on Macs should be using virtual machines to look at their sites on Windows…)
Learn more about why I wrote this post
Between the Surface Go and my desktop computer, I use Windows on a daily basis: just like I use macOS daily for my job. I don’t really care about Mac vs. PC — it’s never sat right with me, really.
Just use the platform that is right for you.
For me, that means programming work gets done on the Mac, and all the other stuff happens on my PC. They both have their upsides.
Unlike my main desktop, which has ample storage, the Surface Go that I bought only came with a relatively small 128 GB solid state drive. It also came with some pre-installed software that I didn’t end up needing.
So, it was time to clean up the junk! That’s why I wrote this post.
A minimal installation of Windows
I like the idea of a minimal installation, after all. It’s also great to have a small virtual machine of Windows around for web development purposes. My “minimal” Windows 10 install for work is roughly 9.5 GB in size.
An installation of Windows usually has the following things take up space that you can free, depending on your use case:
- Apps: Packages of unwanted & preloaded software (including previous versions of said packages)
- System Software: Previous versions of system software so that system updates can be rolled back if necessary
- Temporary Files: Older versions of drivers which may still be around
So, if I decide that I need to reclaim storage space, I undertake a particular set of steps. I usually do this after a fresh installation, because I don’t really use most of the applications that ship with Windows 10 by default, or that manufacturers ship with their hardware.
Important: Prior to making any major changes on an important production system, I recommend using disk cloning software to back-up your system drive. Some of the commands mentioned below cannot (reliably) be rolled back (especially the DISM commands) without restoring a back-up of your entire system. Macrium Reflect has a free trial I highly recommend.
Removing built-in and pre-installed software
Remove software that can be uninstalled easily
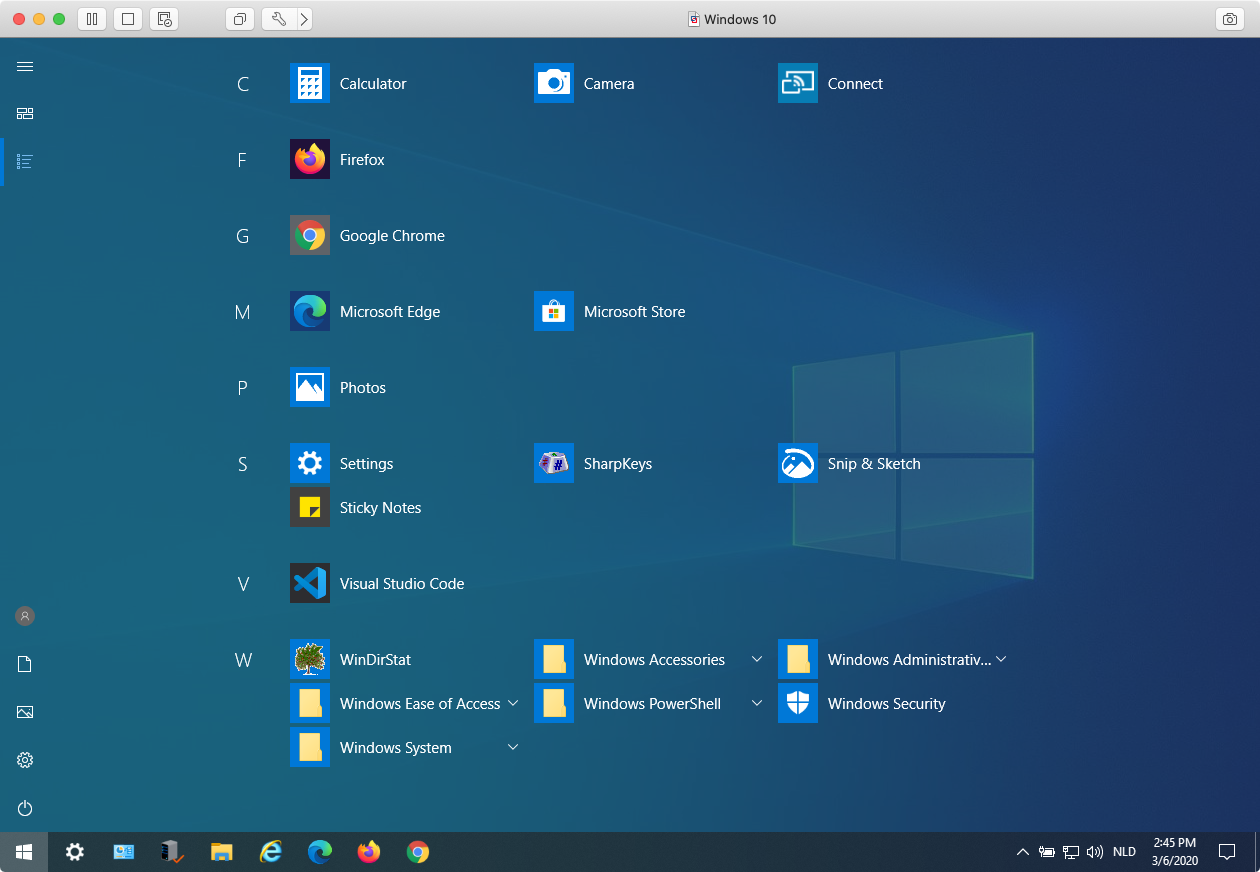
The first thing I do is manually remove the apps I don’t need. You can uninstall a subset of the default apps that ship with your computer, but some others will require additional scripts and command line usage to remove.
Note: On recent versions of Windows 11, you can uninstall most bundled applications now. You can simply right-click on them in the Start Menu and choose to uninstall them. You can skip “Option A” and “Option B” below.
If you just got a new computer, there’s bound to be other software on the computer you don’t need (that comes preinstalled). Remove it as required via the Control Panel. Usually you won’t need a lot of this stuff.
If you know what you’re doing, you can avoid all of this extra software by re-installing a fresh copy of Windows on your new device.
Note: You can also uninstall Microsoft OneDrive via the Control Panel, so if you don’t use it, I recommend uninstalling it this way. After installing an alternative browser, you can also uninstall Microsoft Edge, but only if you are on a more recent version of Windows 10 or 11.
Run the Windows 10 Debloater (Option A)
❗As of late 2023, I no longer recommend using this method, since it is outdated. There may be alternatives that will still work, but I generally avoid “debloating” scripts now. If you know what you are doing, I recommend uninstalling packages via Option B and using this tool to get some privacy back.
This script does more than just remove packages you don’t need, but the major reason why I use it is because it has an easy GUI to accomplish the following tasks:
- Remove bloatware packages (you can also whitelist specific packages if you want to make a custom selection)
- Limit telemetry as much as possible
- Uninstall OneDrive
- Remove unneeded registry keys
Alternatively, you can manually remove packages from your Windows 10 installation. More instructions below.
I’m not explaining how the scripts work, because this information might become outdated. Check the README in the repository for the latest instructions.
Manually remove packages (Option B)
❗On recent versions of Windows 11, you can uninstall most bundled applications now. You can simply right-click on them in the Start Menu and choose to uninstall them. To permanently remove the provisioned version of these apps, scroll down to learn more about Remove-AppXProvisionedPackage.
Alternatively, you can list packages manually via an elevated PowerShell. Open PowerShell or the Terminal as an administrator to list the packages like so:
Get-AppxPackage -AllUsers | Select Name, PackageFullName
To remove them, you can then run the following command, replacing {package-name} with the actual name of the package:
Get-AppxPackage {package-name} | Remove-AppxPackage
So, in order to remove the Your Phone app, for example, you can run:
Get-AppxPackage *Microsoft.YourPhone* -AllUsers | Remove-AppxPackage
Yes, the * characters here act as wildcards, so be careful with what you uninstall this way!
Remove any remaining provisioned packages via PowerShell
My Surface Go actually shipped with provisioned packages of Office — even after running the debloater script above, the provisioned copies of Word, Excel, PowerPoint and more remained on my device, taking up roughly 2.5 GB of storage.
Provisioned apps don’t show up as installed for the current user, but will be installed when you create a new user account. Suffice to say, I wanted them gone, since they were just taking up space!
You can find these in the WindowsApps folder. That’s usually C:\Program Files\WindowsApps on a fresh installation of Windows. As it turns out, you would need to take ownership of this folder if you wish to delete any of the folders in here, and you shouldn’t! It’s a bad idea, since this can break your system! Instead, we’ll tell Windows to remove these provisioned packages.
To determine if you have any provisioned packages (which should be the default Windows apps like Mail, Calendar, etc., but might also include third-party software or additional software like Microsoft Office):
Get-AppXProvisionedPackage -Online | Select PackageName
To permanently remove such a package, you can run:
Remove-AppXProvisionedPackage -Online -PackageName {package-name}
This removes the package and its associated files and folders from the WindowsApps folder. No ownership of the parent folder required.
This will save you space, but you will need to re-provision the package via a complex method should you ever want to restore these, so be careful and only do this if you absolutely don’t use e.g. Office or the Windows Mail app.
Slimming down the Windows folder
Use DISM.exe (Deployment Image Servicing and Management)
If you’ve ever used a tool to find out what folders of the Windows installation are the largest, you’ve probably stumbled upon the WinSxS folder.
Don’t touch this folder manually.
Windows 10 already has a task scheduled to do cleanup of this folder in a way that does not destroy your operating system installation. Find out more about this particular process.
The relevant page also mentions DISM.exe, a tool that can be used to do even more “cleanup”:
Using the
/StartComponentCleanupparameter of Dism.exe on a running version of Windows 10 gives you similar results to running the StartComponentCleanup task in Task Scheduler, except previous versions of updated components will be immediately deleted (without a 30 day grace period) and you will not have a 1-hour timeout limitation.
Using the
/ResetBaseswitch with the/StartComponentCleanupparameter of DISM.exe on a running version of Windows 10 removes all superseded versions of every component in the component store.
So, for maximal space savings (but no way to roll back the latest updates), you may run the following command:
Dism.exe /online /Cleanup-Image /StartComponentCleanup /ResetBase
Every now and then, I run this command if I feel like my current installation seems to be running fine. If, after an update, I do experience issues, I would want the option to roll back these changes.
For less experienced users, I’d recommend just using Disk Cleanup. I also recommend removing an older Windows installation (if it wasn’t removed already). For that, you can follow these instructions.
Set up Compact OS (if you really need even more space)
For maximum savings, you can also use Compact OS. You can save an additional few gigabytes, going by the size comparisons table.
I’ve included the relevant figures from the Microsoft documentation here:
| Image | Windows 10 Home x64, 4GB memory |
|---|---|
| Base Footprint | 15.06 GB |
| Compact OS, with no single instancing | 11.3GB (Δ 3.7 GB) |
| Compact OS, single instanced | 10.09 GB (Δ 4.75 GB) |
| Hiberfile off, no compact OS | 13.48 GB (Δ 1.5 GB) |
| Hiberfile reduced, no compact OS | 14.15 GB (Δ 930 MB) |
Final results
After doing extensive cleanup of packages, I have a significantly smaller Windows folder on my virtual machine. I used Windows Explorer to view the properties of the C:/Windows folder, and noted the following figures:
| Image | Windows 10, Build 1909 (Size on Disk) |
|---|---|
| Fresh installation | 11.9 GB |
| CompactOS + Cleaned | 8.32 GB (~33% smaller, Δ 3.58 GB) |
Suffice to say, these are pretty good results. If you have a large enough disk, I’d say you don’t need to use Compact OS, because of a slight performance hit.
You can also look into single instancing of provisioning packages, but that’s not something I’m currently interested in covering here.
There are also various ways to slim down the OS by removing parts of the operating system (e.g. by slimming down the installer packages), but these methods are generally not supported by Microsoft and can cause issues down the line as you install updates.
What else?
Identify large files and folders
You can also use a tool like WinDirStat or TreeSize to see where your space is going and to track down large files which you can offload or move to a different place. This won’t slim down your Windows installation, but may help if you want to save on disk space.
This can also help you find temporary files and such which may be due for deletion later, but if you need to make space, you may want to remove as soon as possible.
But like I said prior, you do need to know if you can actually remove those files and folders. It’s best to only check what files and folders exist for your own user account. (You can check the C:/Users/<YourAccount> folder.)
I generally advise that you never touch the following directories manually:
-
C:/Windows -
C:/Program Files -
C:/Program Files (x86)
Always perform a quick search to determine whether removing a particular folder is a good idea. Do not remove files or folders without knowing what they are.
💶If this post helped you, please consider sending me a donation via PayPal, or you can use the donate link in the navigation bar above. Every little bit helps me maintain my blog and my software in my spare time. Thank you very much!