🕰 Feeling nostalgic? This is a post from 2013, which means I was still a student during this time. Most of my posts from this timeframe are related to school or the fiction I was writing. These might not mean much to you.
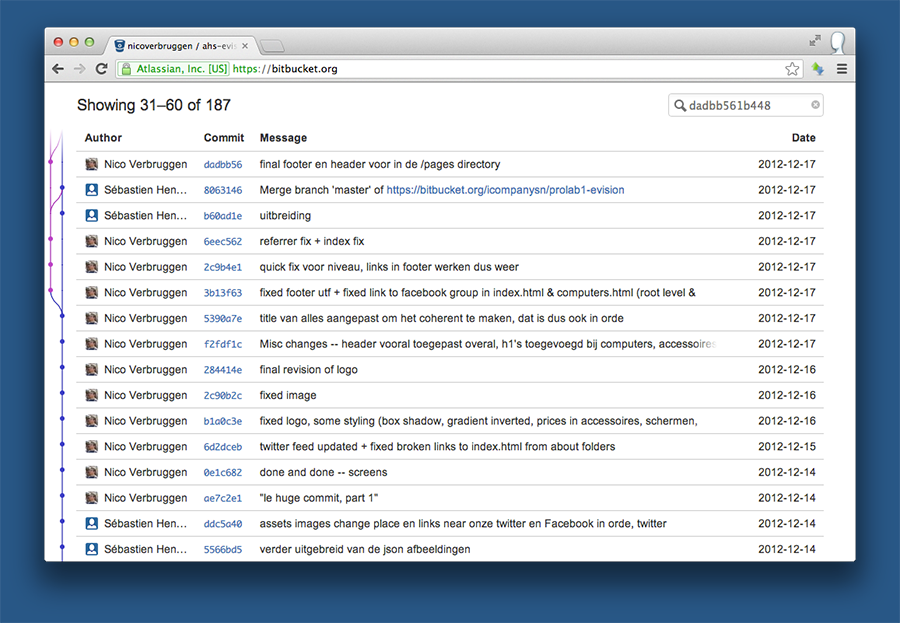
Last week we started working with Git on the command line. Previously, me and a buddy worked last December on a website that we managed using Git as well. We didn’t know much about version control, since we used SourceTree. We did use a private repository on BitBucket. The way branching and merging worked was easy for us. In our case, we only used one single branch, but we merged many changes. Doing so manually takes a lot of time, so I opted into using SourceTree.
If you are working with more than one person on a project, chances are that you’ll hate merging stuff manually because it is hard. With a version control system (VCS) like Git, you’ll be able to manage changes and see what changes have been made, as well as merge changes and branch off. If you’re scratching your head, I’ll explain.
An introduction to repositories
A repository is a centralised location where data is saved, and other users can get the data from this remote location. Repositories are used in a few Linux distributions like Debian, Ubuntu and Mint so users can easily update their software with later versions, but repositories are also used as centralised locations where code can be hosted. In terms of version control, repositories act as locations where the latest version of your code is hosted. This can be in either a private or a public repository, which can be hosted on e.g. GitHub or BitBucket. GitHub offers free public repositories, and BitBucket offers both private and public repositories.
A practical introduction to Git
If you’re still reading, you might want to install Git and try this practical guide. Start your terminal… and let’s go. Maybe you need a refresher course? I’ll be waiting. Ready? Read on then!
Getting git running
In order to be able to start tracking your changes, you’ll first need to install git on your system and initialise a local repository. Doing so creates a .git directory below the root folder you just selected as repository location. Doing so in terminal can be accomplished by navigating to your folder using cd and then using git init, which will confirm the initialisation. Note that you’ll need to set up your name and email address once as well if you haven’t already. (The procedure is explained in the terminal window, so I won’t bother to include it here.)
Committing in your new repository
Files you might have added to your repository are not tracked. In fact, the only thing that git tracks are the changes between different commits. It’s important to realise that you’ll need to commit before you can start doing diffs (which is finding differences between files, line per line). First, you’ll want to figure out which files are in your tree have been changed or added but not yet committed. Type git status to get an overview of these files. The result will be something like the image below, which was my website repository before the first commit.

Staging your files
Okay, let’s add those files to be committed. In order to do this, you need to type git add * to add all files and subdirectories to the next commit. Note that you might want to type individual names of files and folders if you don’t want to commit everything at once. Example: git add index.html will add the index.html file to your stage. Yes, stage!
Committing, finally!
What you just did was staging your commit, the committing itself hasn’t happened. Check your stage using git status and if you think you are ready, you can get to committing. You need to add information about what you changed to the commit, so do it like this: git commit -m ‘Your commit message here’ (-m stands for message). Congratulations! You just made your first commit. You can now check the different commits using git log and see your coding progress.
GUI’s and more information
You can find more information here, including information about GUI’s, which can make your life easier, not having to navigate the command line. I use git to manage local and online projects, and it’s really easy. The website I linked to above also contains a tutorial for git on GitHub, and is wholeheartedly recommended.