Since more recent versions of iOS and macOS, it is no longer possible to simply drag and drop a certificate file onto the iOS Simulator in order to get a custom profile to show up in the Settings app that you can trust.
This can be helpful if you wish to visit your secured Valet domains on iOS on your local machine.
The solution to this problem is to visit the .pem file via the browser, in order to import it as a configurable profile which lets you trust the certificate.
To do so, you could use PHP to host a quick server:
cd ~/.config/valet/CA && php -S 127.0.0.1:8080
In the iOS Simulator, then navigate to the following URL in Safari:
http://127.0.0.1:8080/LaravelValetCASelfSigned.pem
(Assuming you ran the terminal command, you can drag this URL onto the simulator. It should work!)
Once you’ve done that, the profile should be added to the Settings app. You can now navigate to General > VPN & Device Management and enable the profile there. Depending on the name of the certificate that you imported, make sure to choose the right item.
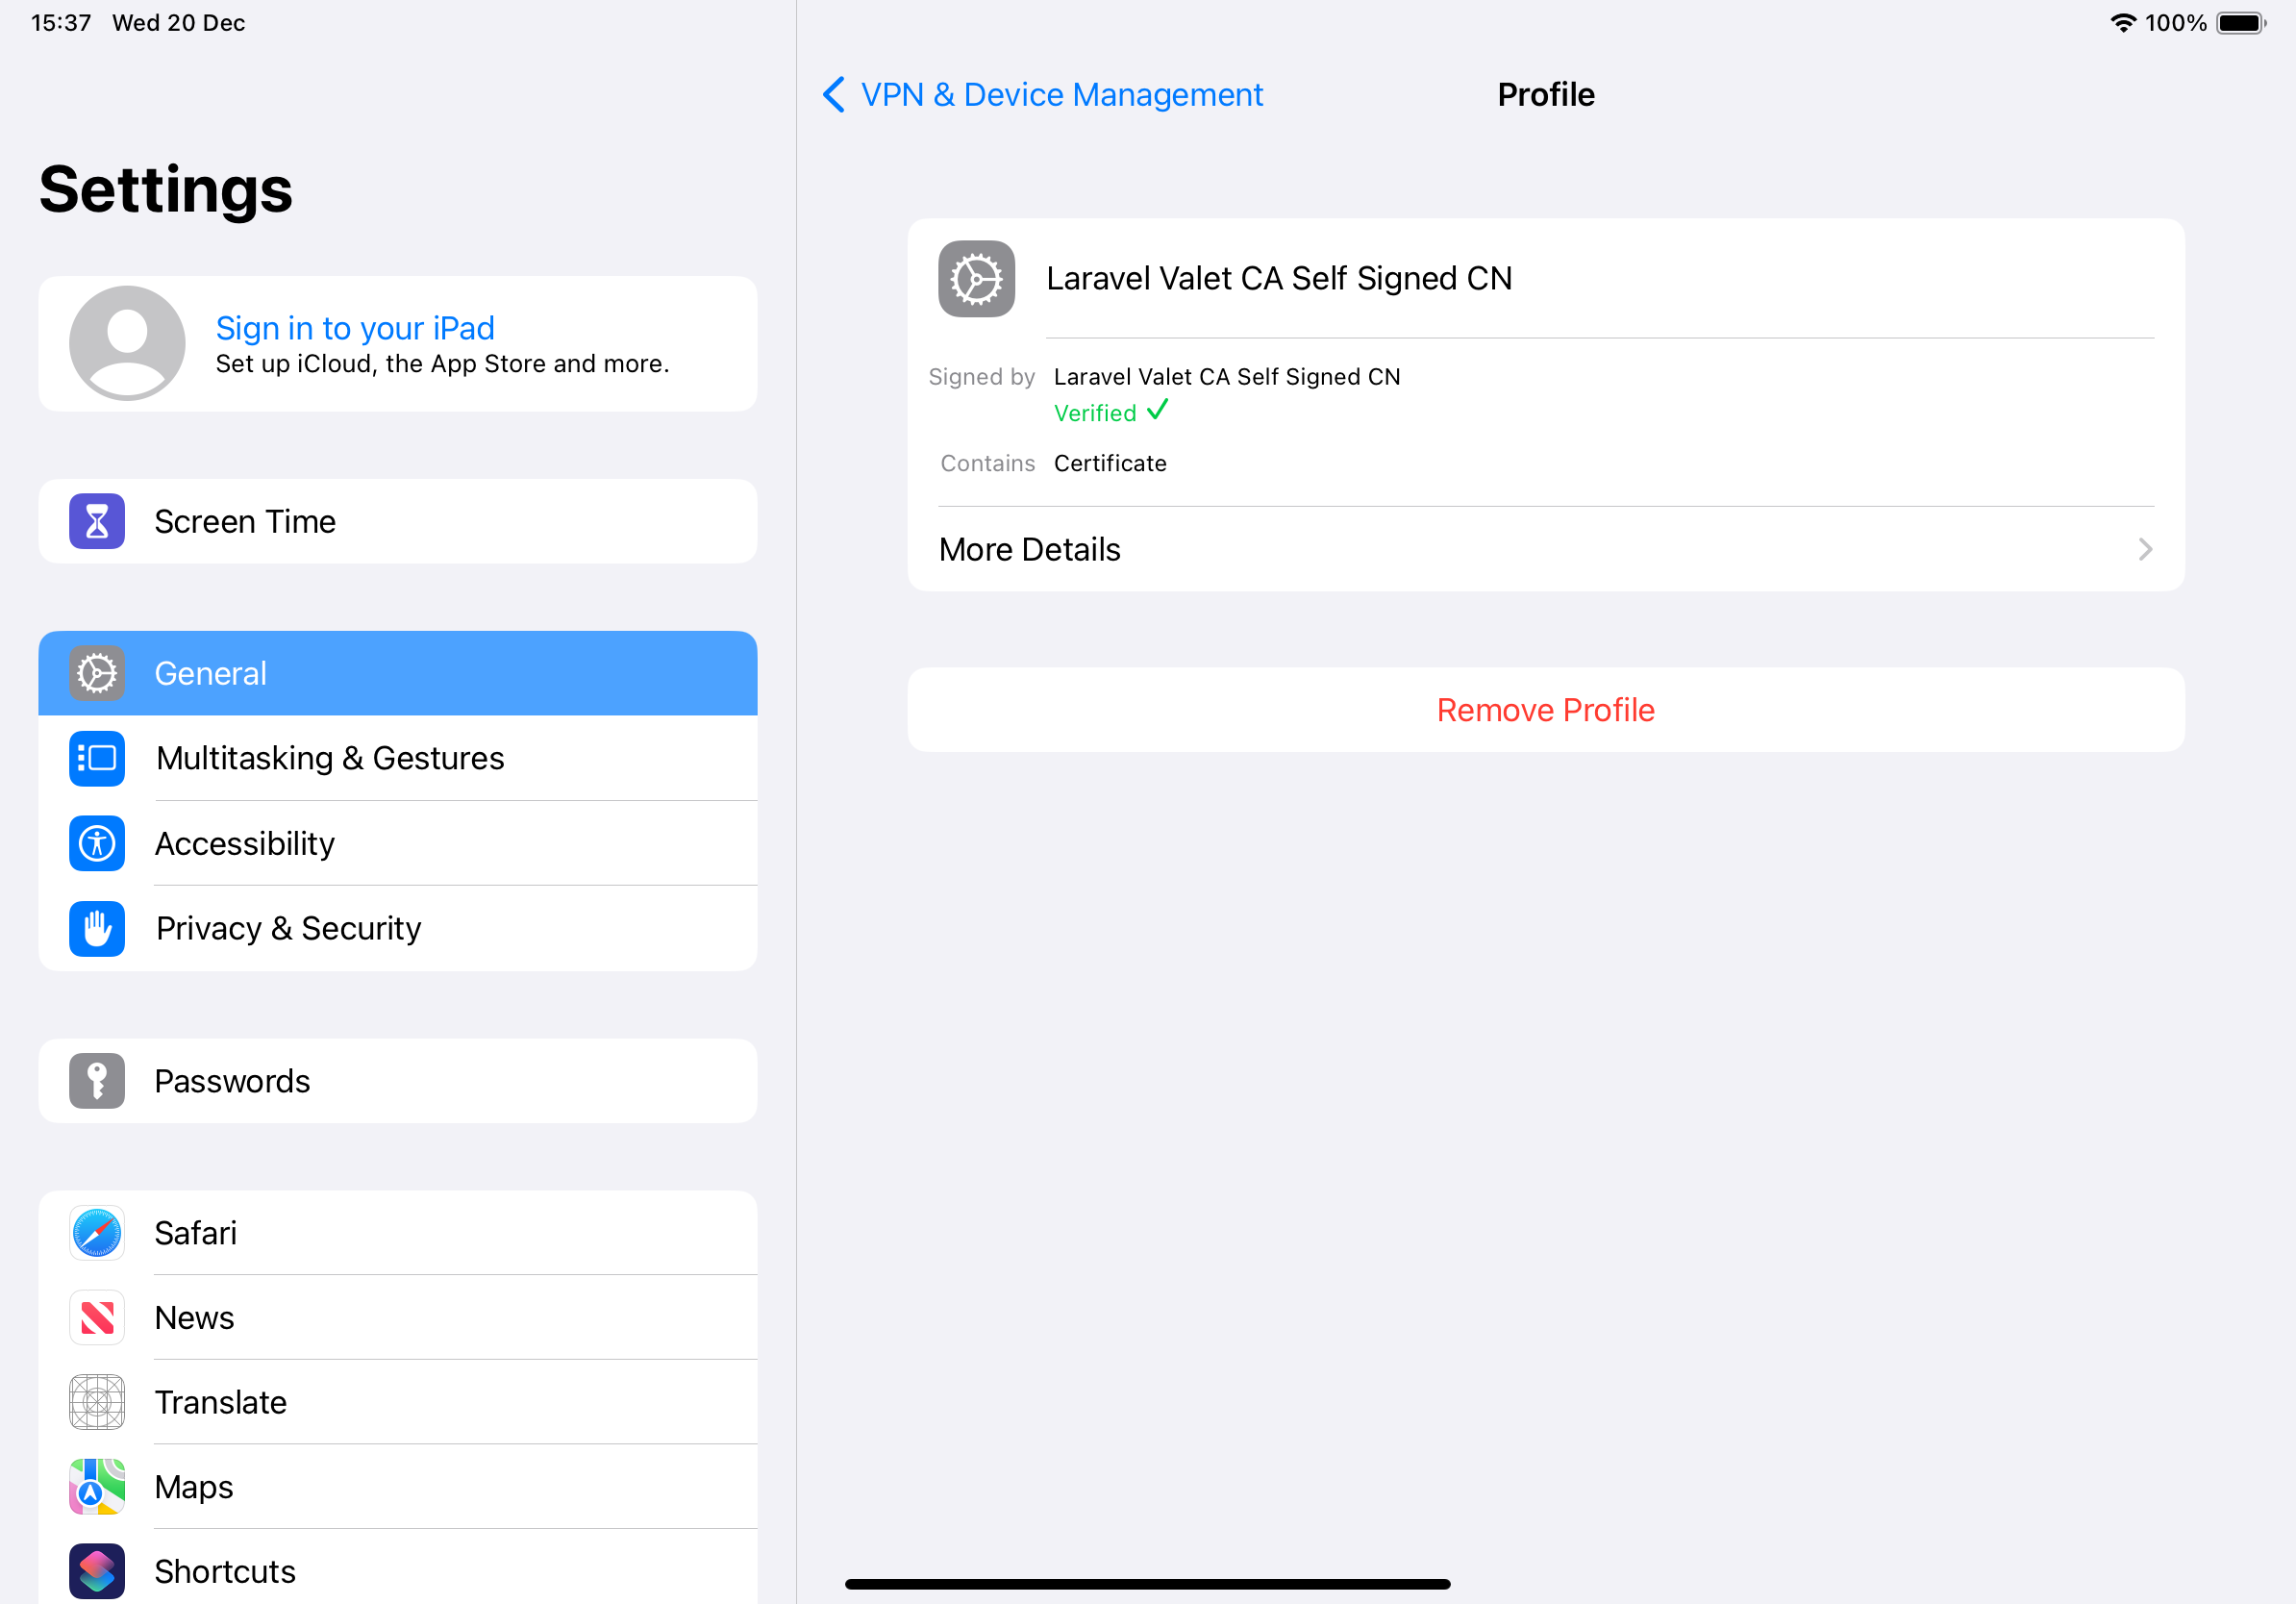
Once that’s done, your .test domains will now no longer display a warning about an insecure connection, which will allow you to test all of your Valet domains with ease on iPhone and iPad simulator devices of all sizes.